Mushroom Pizza Three Ways
What do you do with gorgeous mushrooms? You make pizza! Three mushrooms pizzas, to be exact. I know the words “gorgeous” and “mushrooms” don’t usually go hand in hand, but some mushrooms arrived in my farmer’s market box last week and they were beautiful. They were king oysters, which have light brown caps and thick hearty stems. I imagine they would’ve been great pan fried in butter. But then I thought they’d be even better atop pizza. So I brainstormed a few ideas and came up with this: I’d make one white pizza, one green pizza, and one red pizza. Variety is the spice of life, as they say.
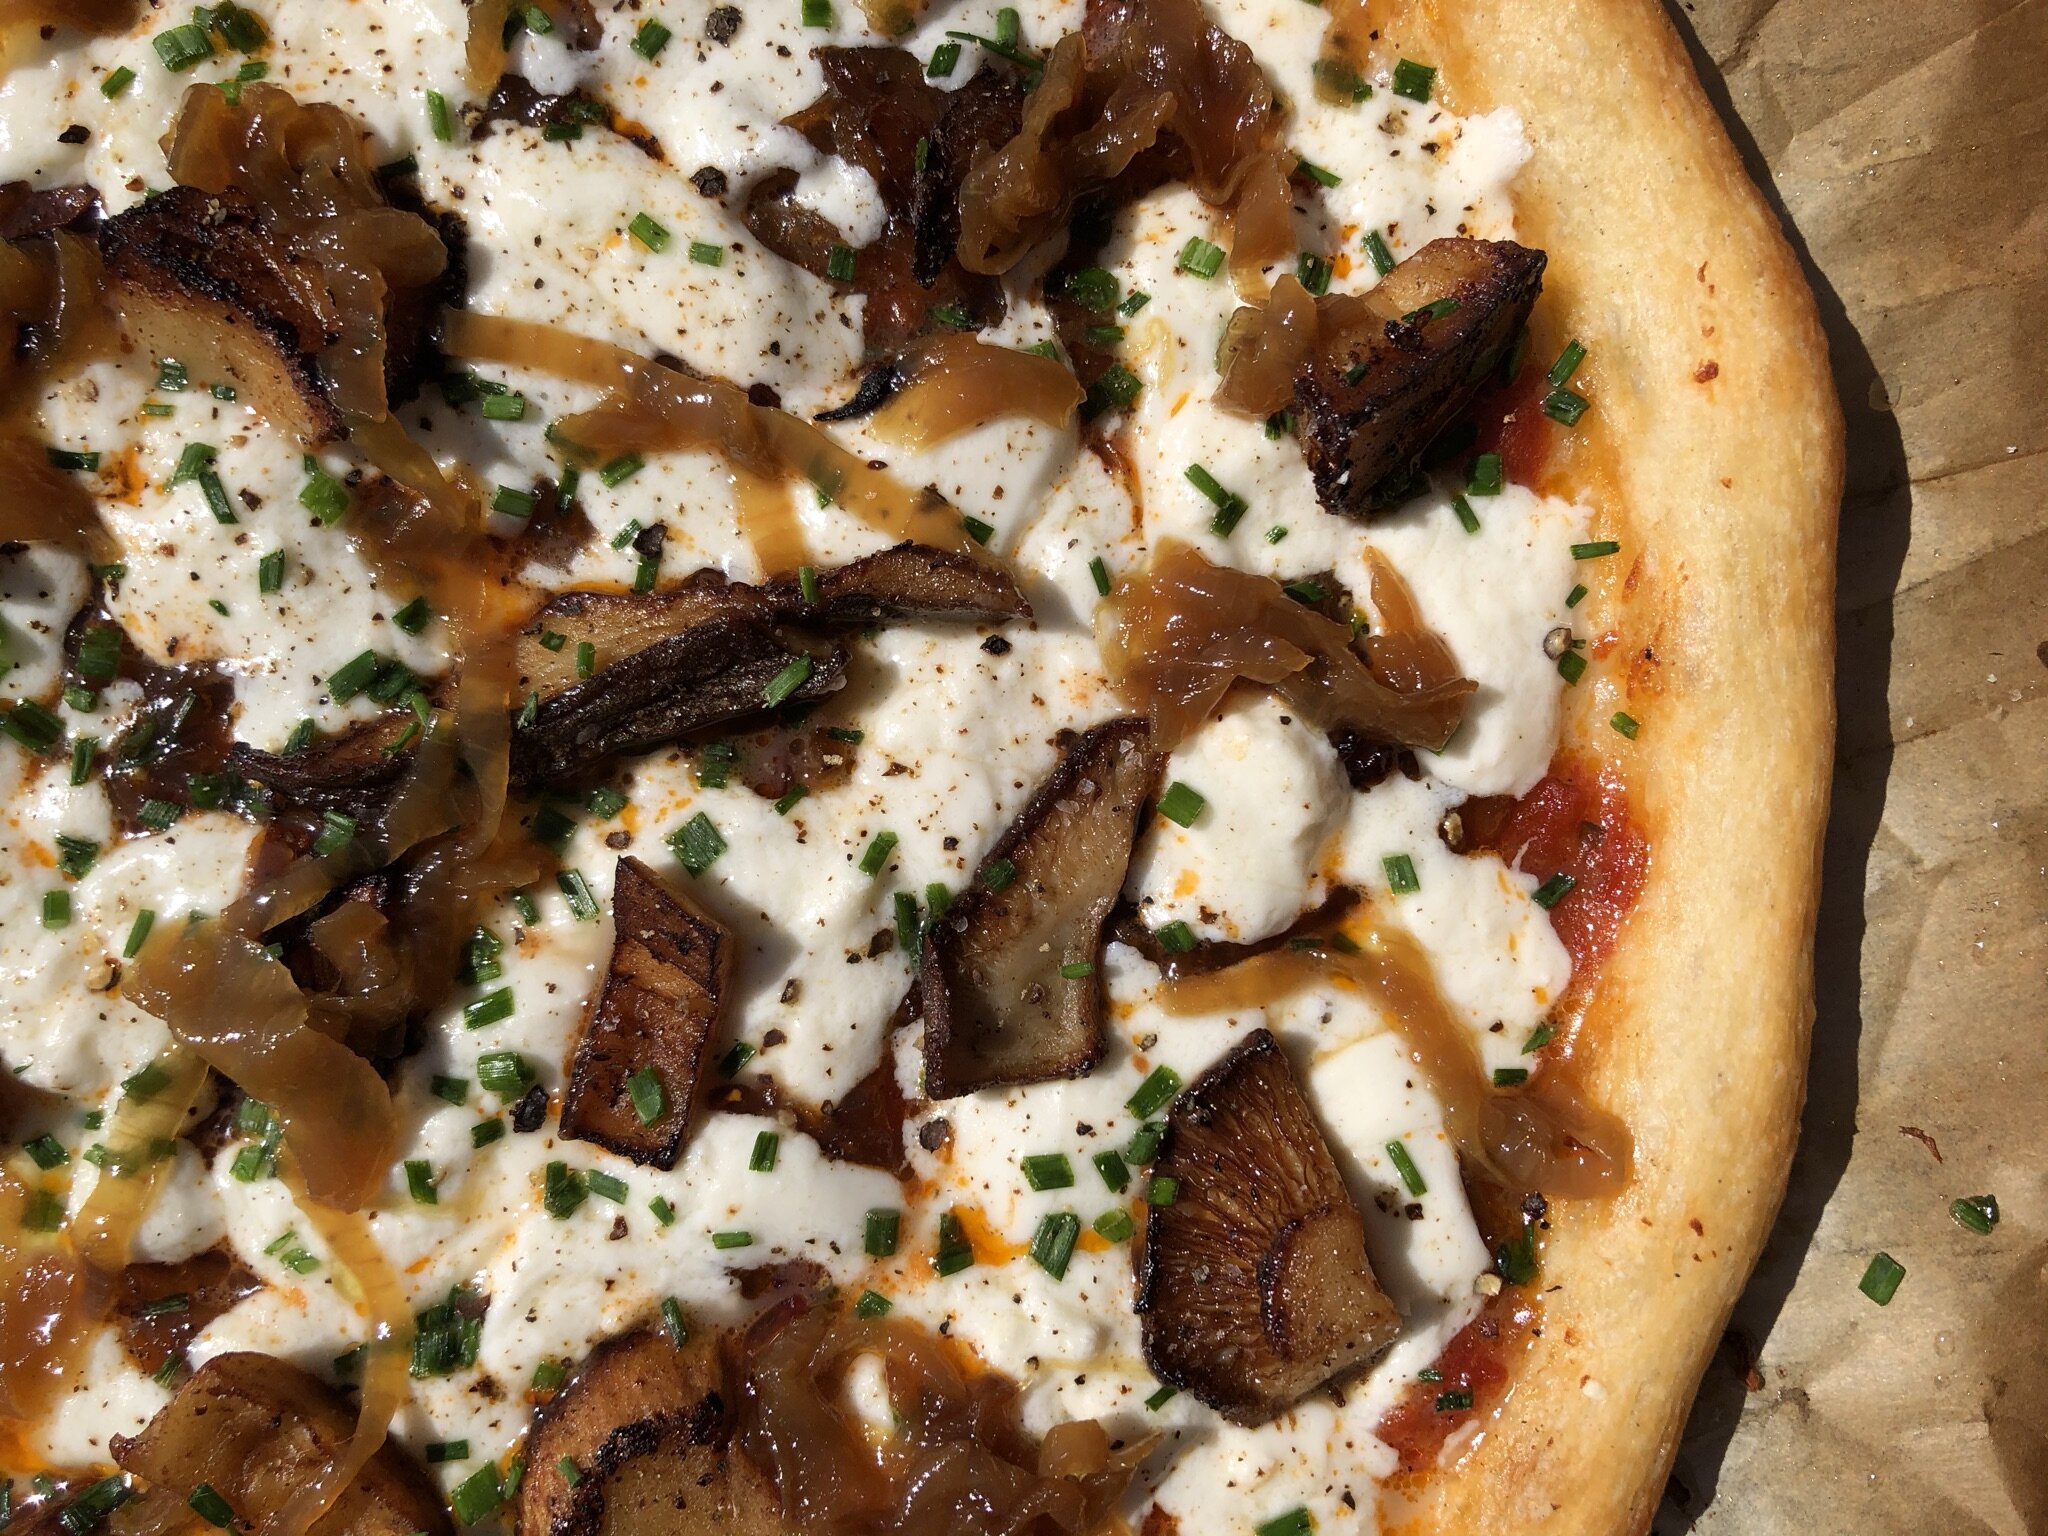
Pizza number one was a classic combination. Mozzarella, herbs, and mushrooms. I also added caramelized onions, which my family loves. I sliced the mushroom caps into strips and cut the stems into rounds. I panfried the shrooms in batches, making sure not to crowd the pan. That’s the most important thing I’ve ever learned about mushrooms — don’t crowd the pan! If they’re crowded, they’ll steam. And steamed mushrooms run the risk of being rubbery (bleh). But if the pan is super hot and they’ve got plenty of room to breath, they’ll crisp up to golden perfection. This small tip has increased my love of mushrooms tenfold. I used to like them, now I love them.
Next, I assembled the pizza. I stretched the pizza dough into a circle, brushed it with lots of olive oil, covered it in mozzarella, nestled the mushrooms in the cheese, and added sweet caramelized onions. Once cooked, I threw on a handful of thyme and chives for herby freshness. Then my sister grated lemon zest over the pizza and it tasted even better. Out of the three pizzas I made, this combination was everyone’s favorite.
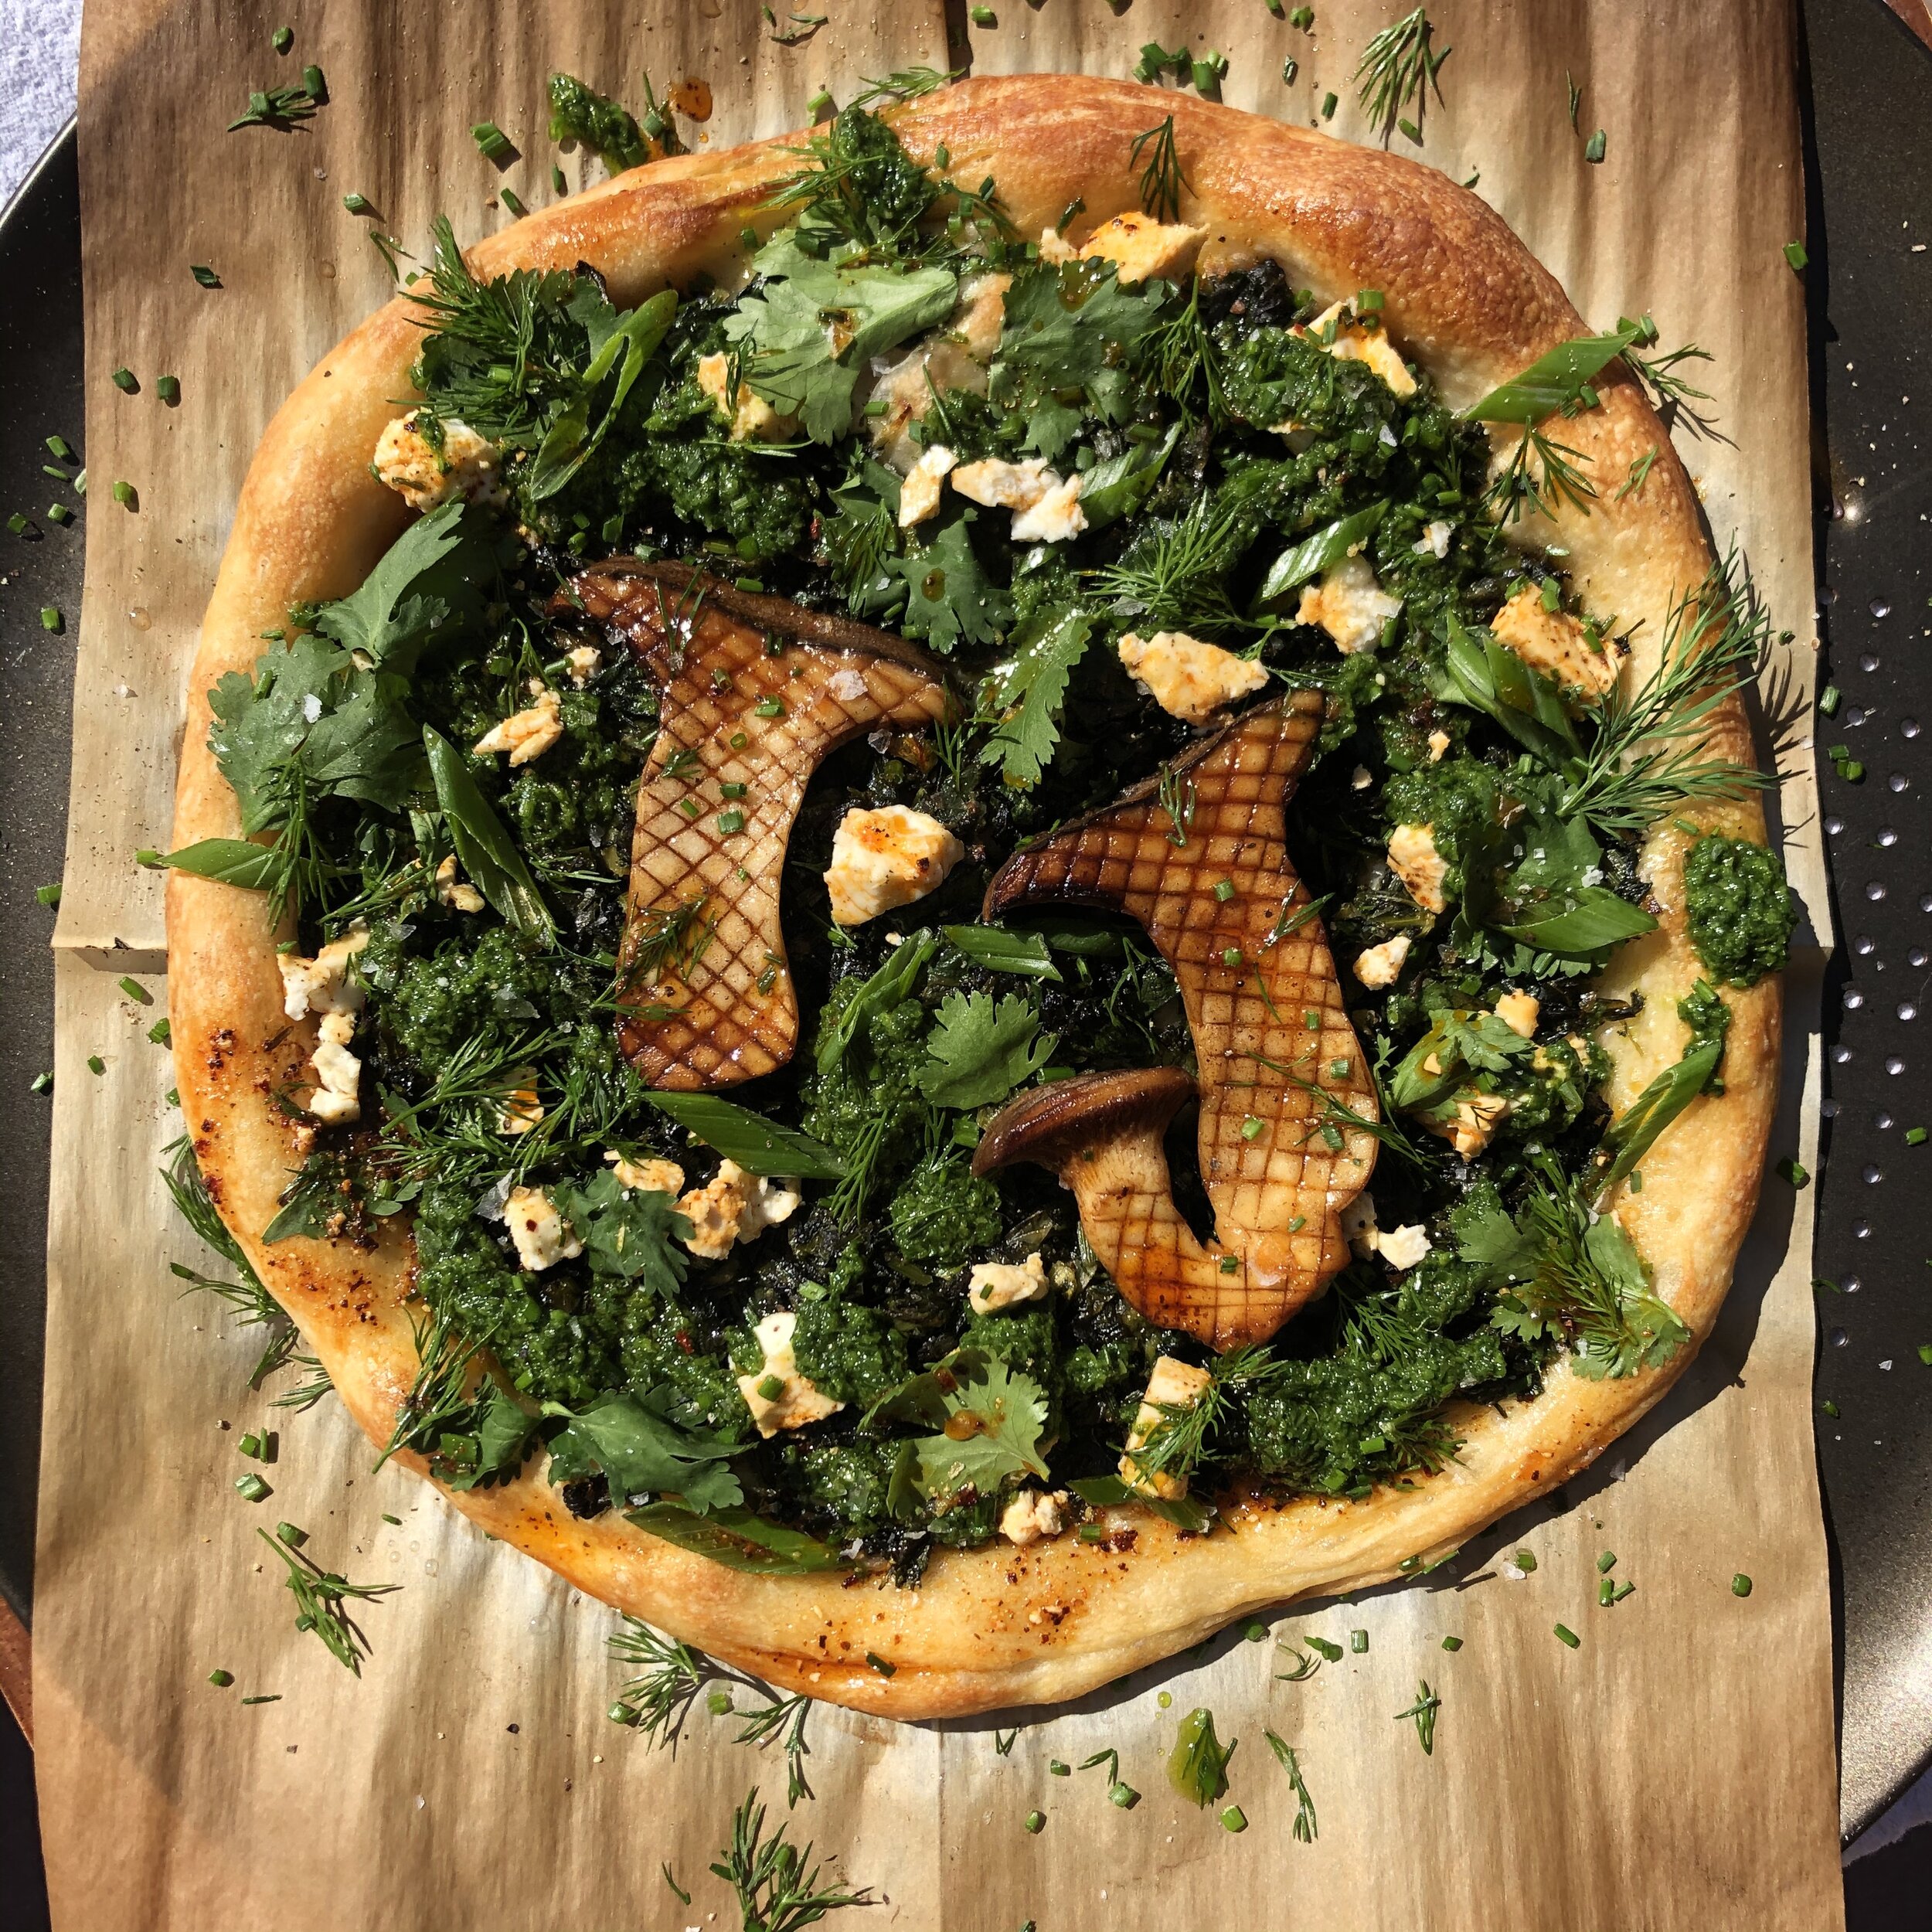
The following day I created an experimental “Herby Green Pizza.” I took inspiration from Chef Yotam Ottolenghi’s recipes for Green Herb Shakshuka and Smoky Marinated Feta. I spread a pizza crust with cooked greens and herbs, dotted it with chunks of marinated feta, then sprinkled a flurry of herbs on top et voilà! Herby Green Pizza was born. Oh and I added mushrooms for good measure.
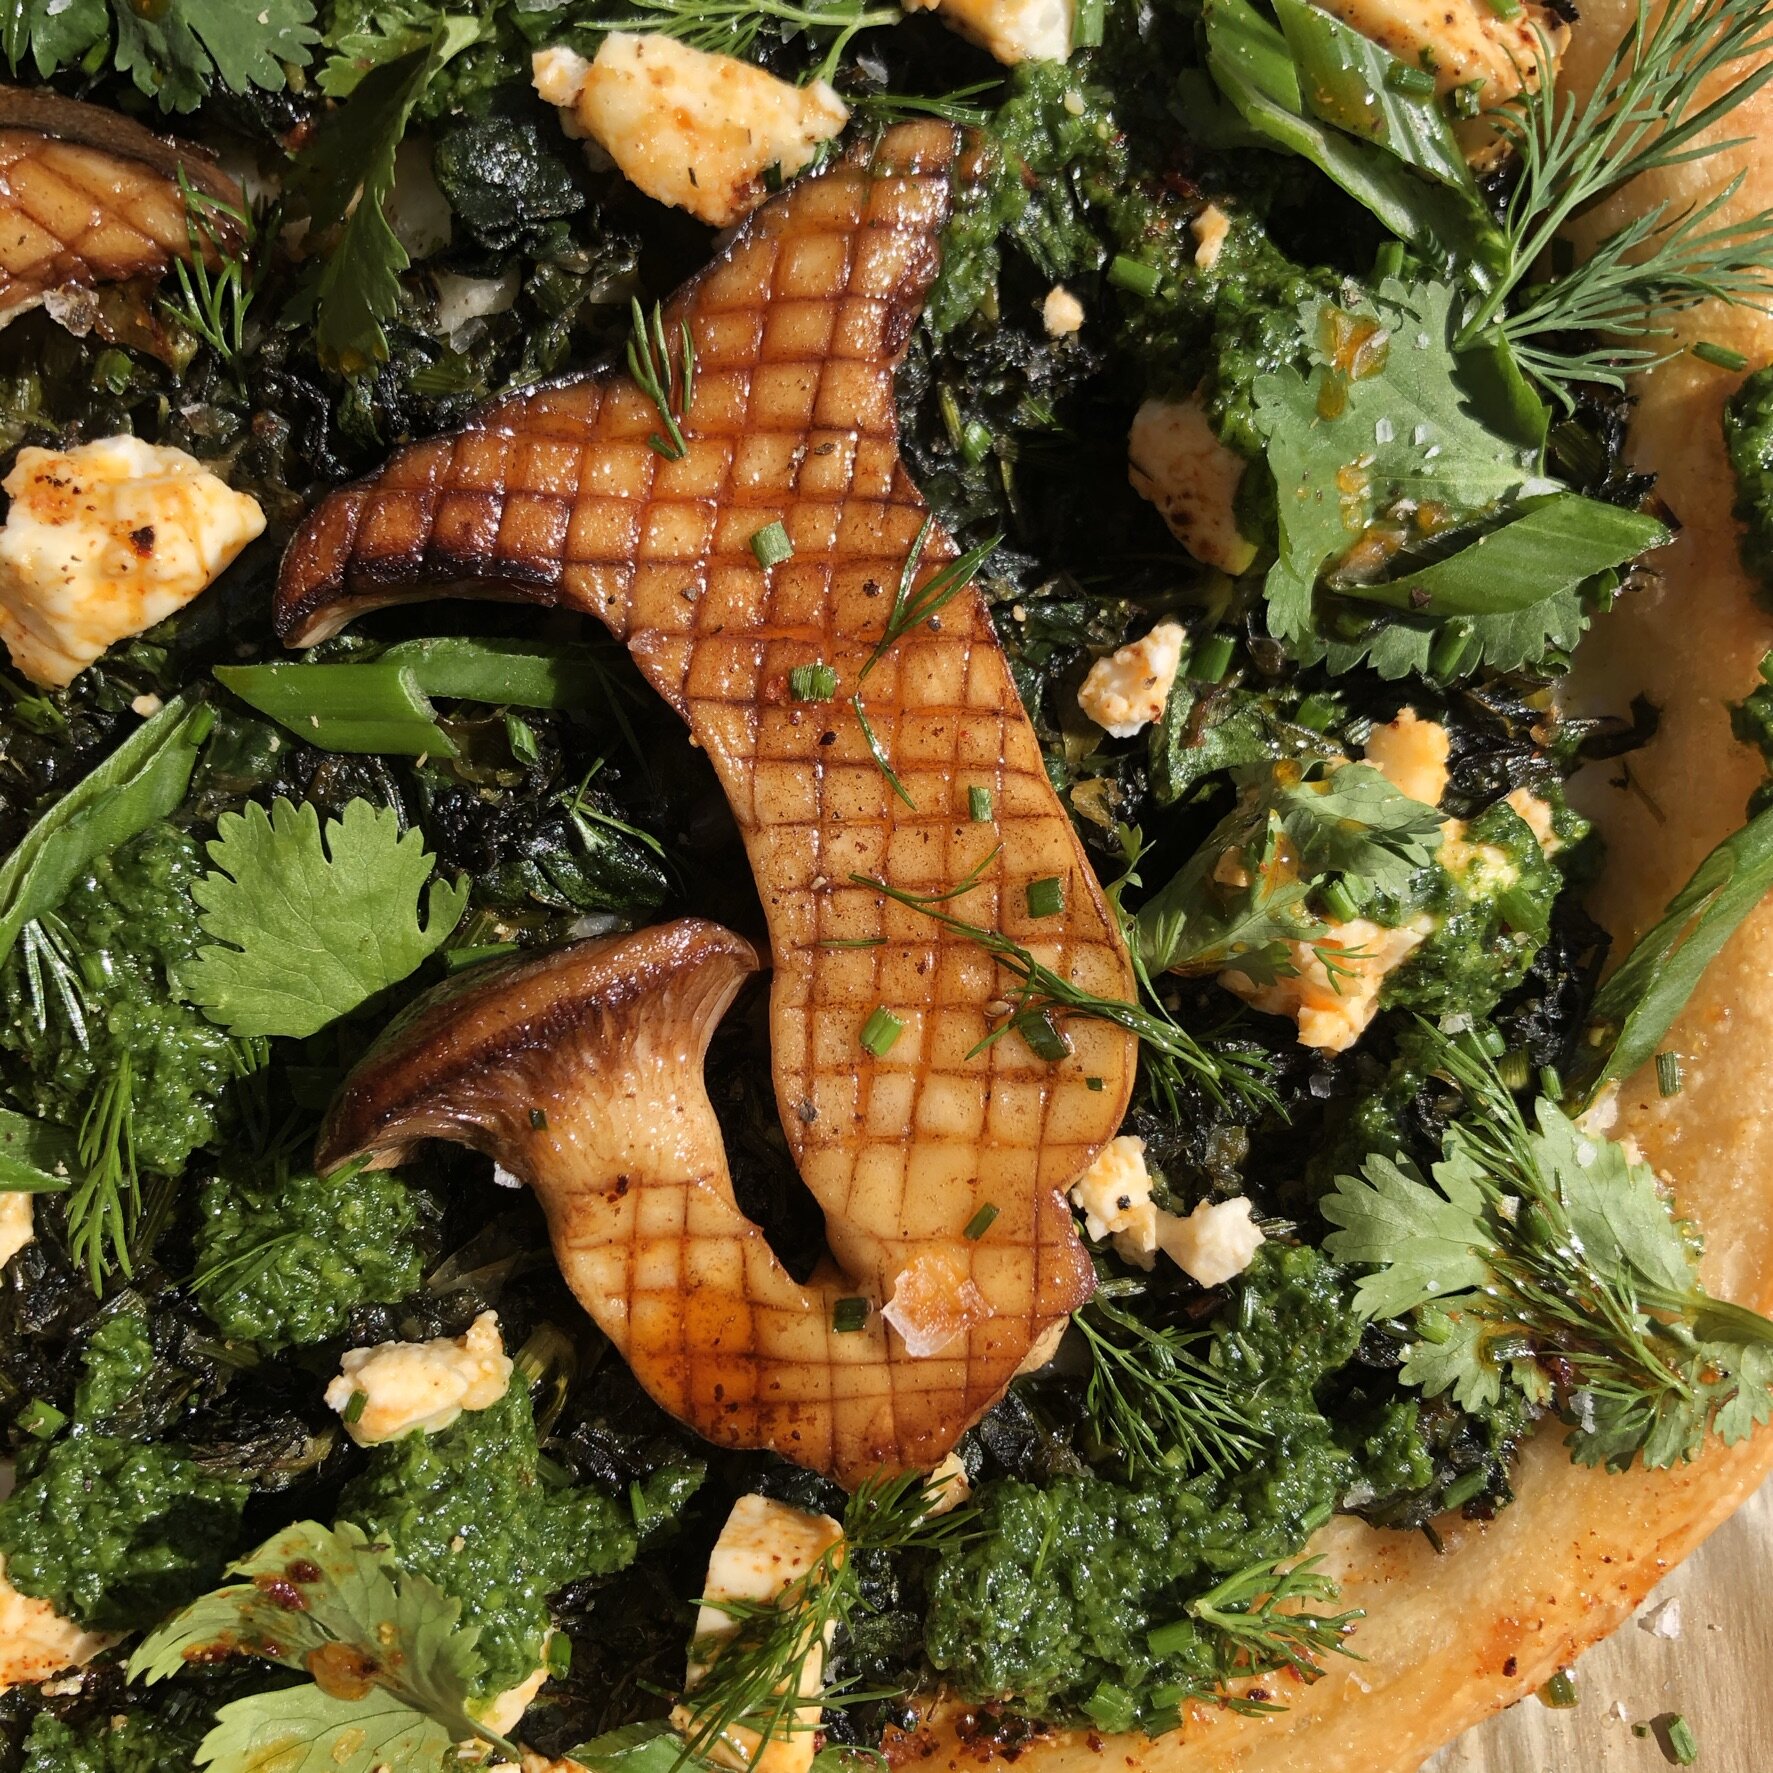
Which brings me to my next point! For this dish I cut the mushrooms in half from top to bottom. No little slices, no random pieces. Just one clean cut from the base to the cap. In this case you can see the shape of the entire mushroom, which I love. It’s visually pleasing, no? I also scored the cut side of the shroom for two reasons. One, because it’s attractive. And two, because I’ve found the pieces I score and then pan fry have a more tender and plump mouthfeel. When you bite into the mushroom you can see how juicy it is. Divine.
I actually entered this dish in a cooking competition where the grand prize is a cooking lesson with Yotam Ottolenghi!!!! How good is that? As a longtime fan, I would love to take a cooking class with him. Fingers crossed my dish gets picked as one of the ten winners.
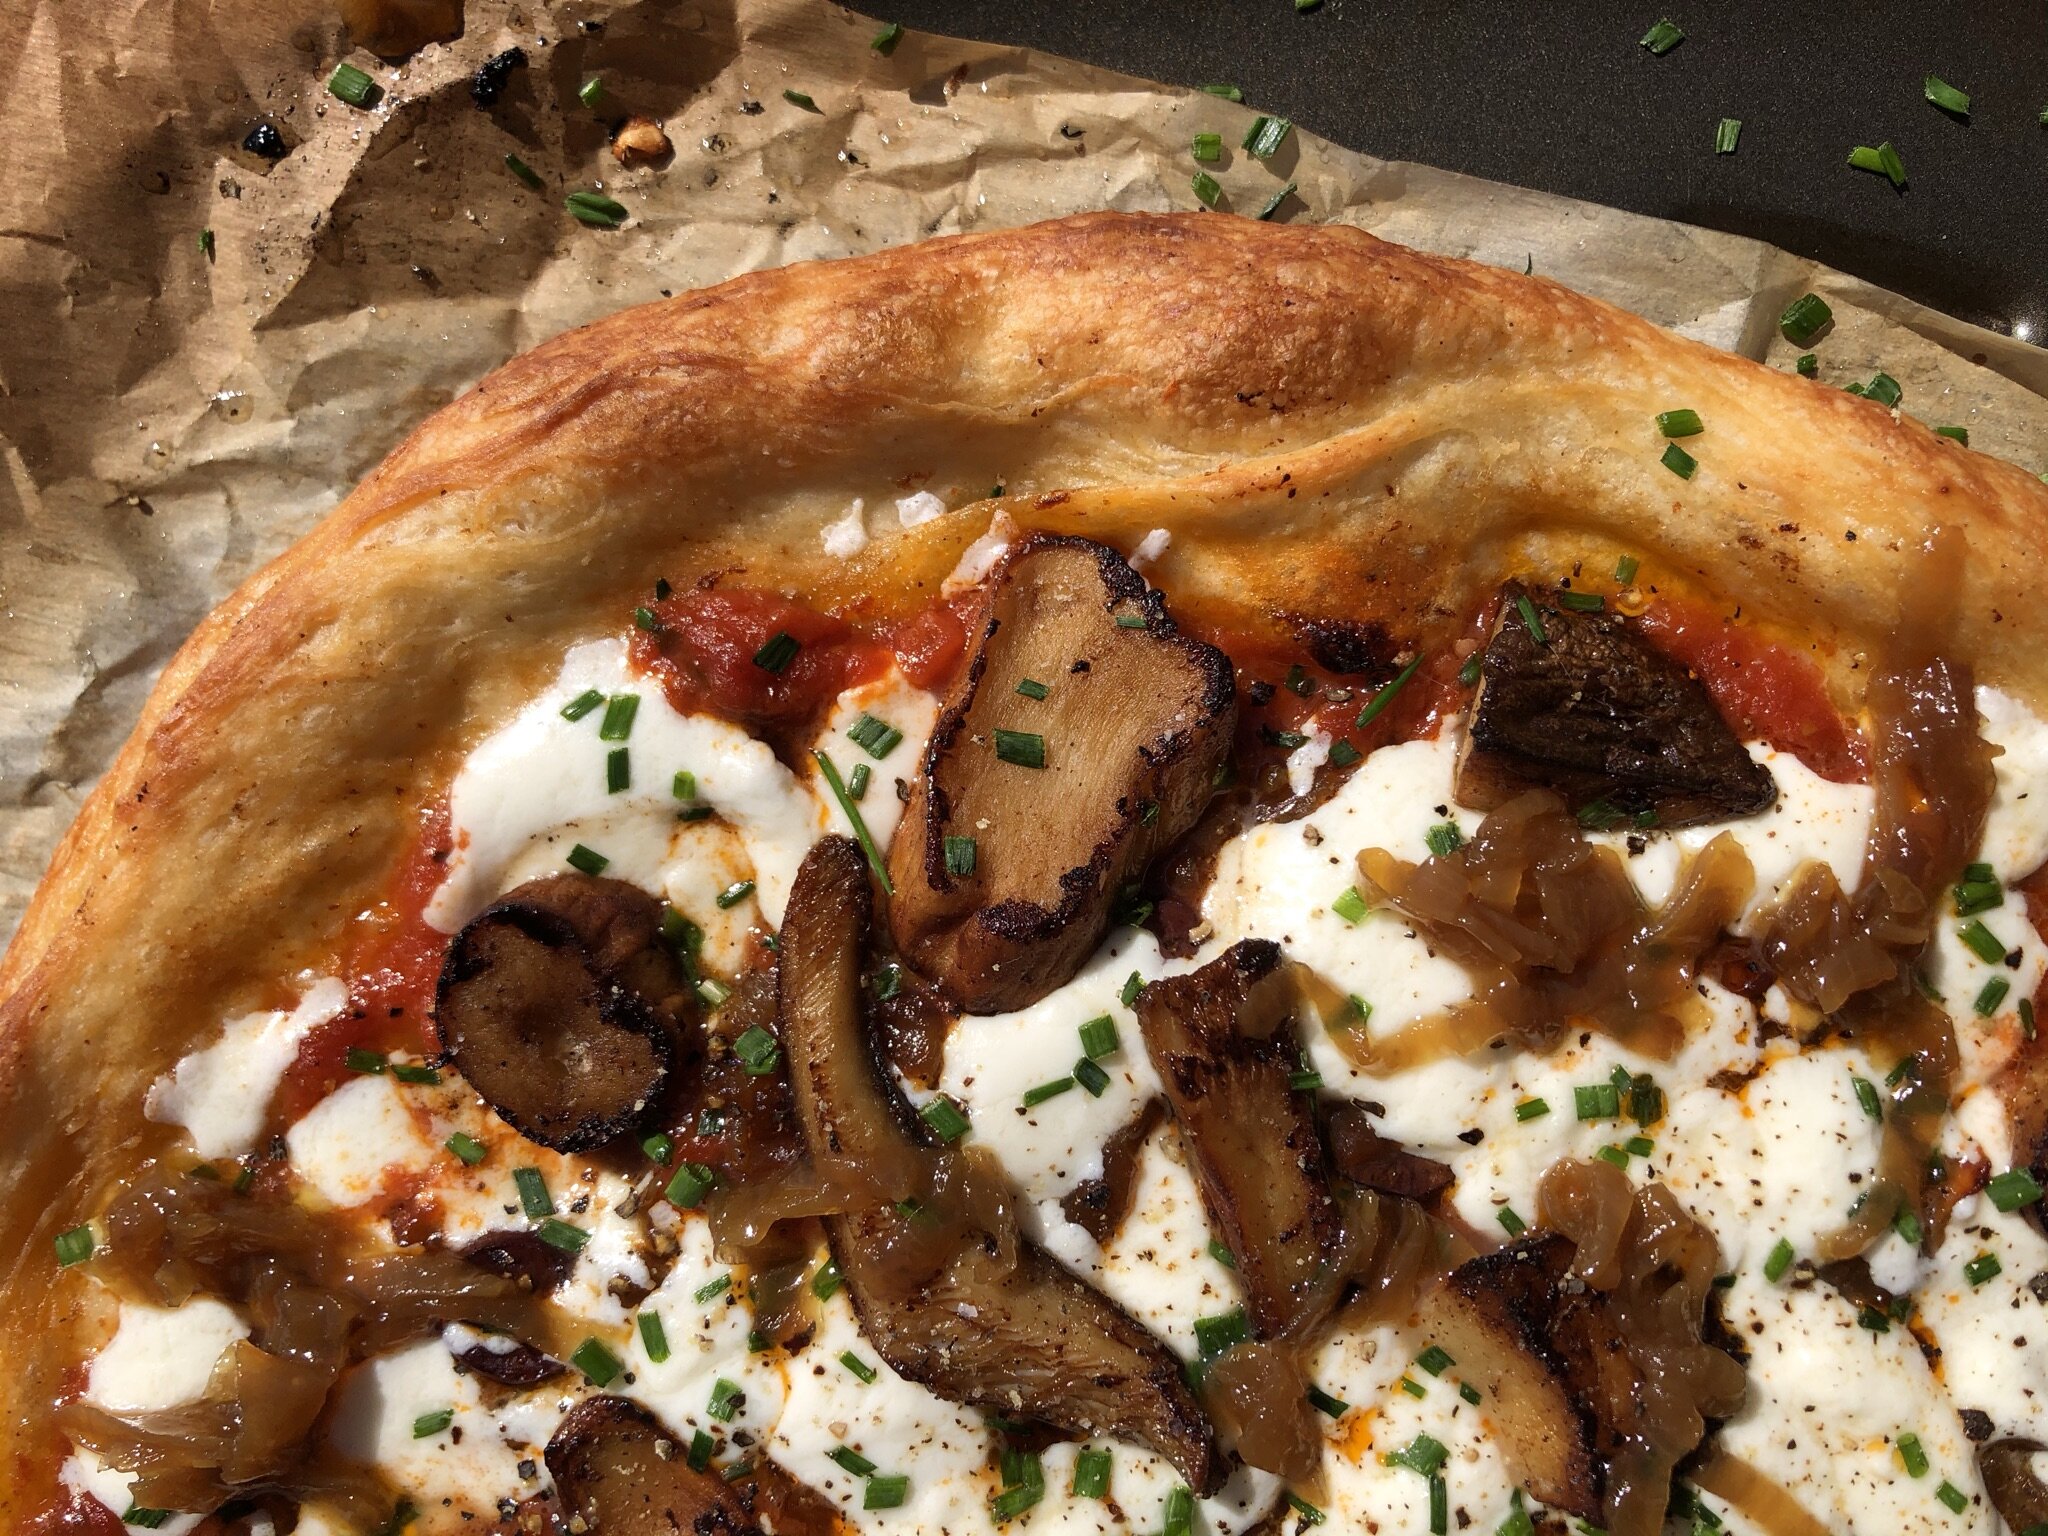
Pizza number three was born from a question I ask myself several times a week: “What’s in the fridge?” I started with an open jar of marinara sauce, the rest of the mozzarella, leftover caramelized onions from pizza #1, chopped chives from pizza #2, and black olives hiding in the back of the fridge (which are now hiding beneath the cheese). The crowning glory was mushrooms of course. This flavor combination is nothing new but I swear the king oyster mushrooms took the whole thing to the next level. They’re meaty without being meat, and more toothsome than thinly sliced button mushrooms. If you can get your hands on king oysters, do it!
One more thing: the pizza crust was amazing. It’s easily the best crust I’ve ever made at home. I found several similar recipes online for cold fermented pizza dough. All of the recipes featured the same ratio of flour to water. What makes this dough special is a long, slow, cold fermentation in the fridge.
Ok so here’s what I did: I mixed the dough on Sunday night and let the dough prove for twenty-four hours at room temperature. The following day I shaped the dough and stashed each ball in a separate oiled container in the fridge. The dough balls sat in the fridge for several days slowing fermenting. I could have made it into pizza after one or two days. Instead I let the dough ferment for four days total, which is longer than the recipe recommended. But wait was totally worthwhile — the extra fermentation added incredible flavor. When I was a kid I used to eat around the crusts and then throw them to our dogs. This time I devoured the crusts… and my dog Milou was not pleased haha. So if you’re looking for a new pizza dough recipe be sure to check out the recipe I used here. Buon appetito!


